


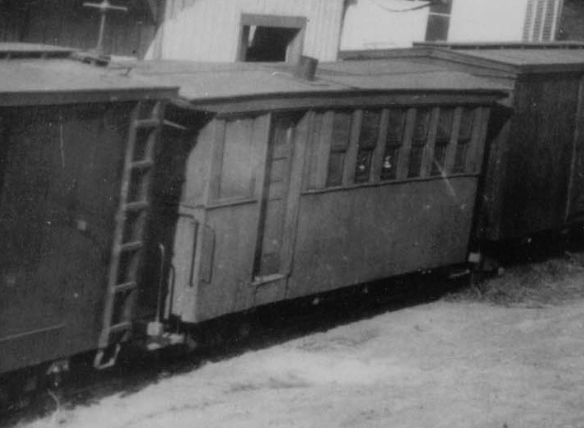
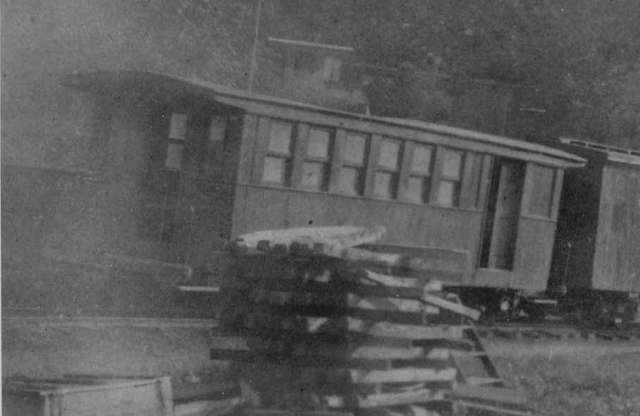
As I plan for the future, I need something to haul passengers with that wold be less fancy than what would be considered for busy, larger scale narrow gauge passenger service. Something that would represent what would be used in a mixed train that had low passenger volume. Reaching out to one of my favorite narrow gauges, the Cairo and Kanawha, I decided to model the likeness of one of their combines. The car was clearly modified from an older, less fancy passenger car. Note the narrow baggage compartment door and the boarded up rear window. Oddly, this car has no lamp vents on the roof. Their second combine did have such vents.
I used a Bachmann On30 passenger car to capture the likeness. I say likeness as the letter board is clearly too tall, the need platforms to short and the steps the wrong type. Maybe I will modify those steps.....
The prototype car clearly was lower to the ground. Many of these style cars used less expensive arch bar type trucks and smaller diameter wheels. I guess to lower the cost? I'm sticking with modified Bachmann trucks (widened to On3) for now. Despite having the same number of windows and what appears to be reasonably window spacing, my car still seems short compared to the prototype.
For now, I am happy with the end result. I think it will look good behind my short mixed trains and captures the essence of a wonderful West Virginia narrow gauge.

A friend has been working hard on developing a 3D printed model of a two-drum American Hoist and Derrick donkey engine. I've been having so much fun building one, that it has turned into 4 in various states of completion. Amazing detail and amazing assembly. Quite the joy to build. Keeping me occupied at the workbench lately.


It has been a long and difficult journey to get this locomotive up and running. I've been working on it for at least 8 years.

10/27/15
11/2/14
10/13/14
After the initial paining, I blew a decoder, broke off the generator stand, among other things and put the locomotive away for quite a while. Recently, while working on another shay project, I pulled it out. Certainly, I should give it another go? Blew another decoder in 30 seconds, wire touched the metal speaker. This time I persevered and finished the difficult sound install by moving the speaker to the firebox and making a plastic housing for the decoder, keep alive in the tender. I installed glass in the windows, used a weathering technique suggested by Jeff Kracker, and made an ok looking coal bin to cover the motor that sticks up rather high. The locomotive runs well, sounds good. I'll add a toolbox, re-railing frog and some details to the running boards as time permits. I also need to get the sound timing down and improve some of the sound effects, like remove the nonexistent air airpump. Right now I want to just sit back and enjoy getting this far. And onto the other project.....
Merry Christmas! It has been a while since my last post. Over the last week, I have been working on a little scene for the logging railroad - a horse hauling a stone boat. What is a stone boat you ask? It was a very simple "sled" used to haul stones out of early farmers fields.

These simple sleds were then adopted for many other purposes, such as hauling extract bark to landings at logging operations in the Appalachian mountains. Below is a team working on pulling a stone boat with bark extract on the logging operations outside of Richwood, WV. Several operations also used single horse pulled stone boats, which is what I decided to model. One less horse to paint.
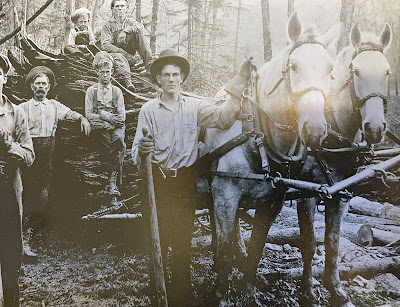
I scratch built my stone boat with stripwood left over from other projects. I carved the sled runners and added the stakes. The horse is from Aspen Models, where I removed the blinders. Most horses used in for log skidding and bark hauling did not use blinders. Now all I need is someone to hold the rains.
See you in the New Year!


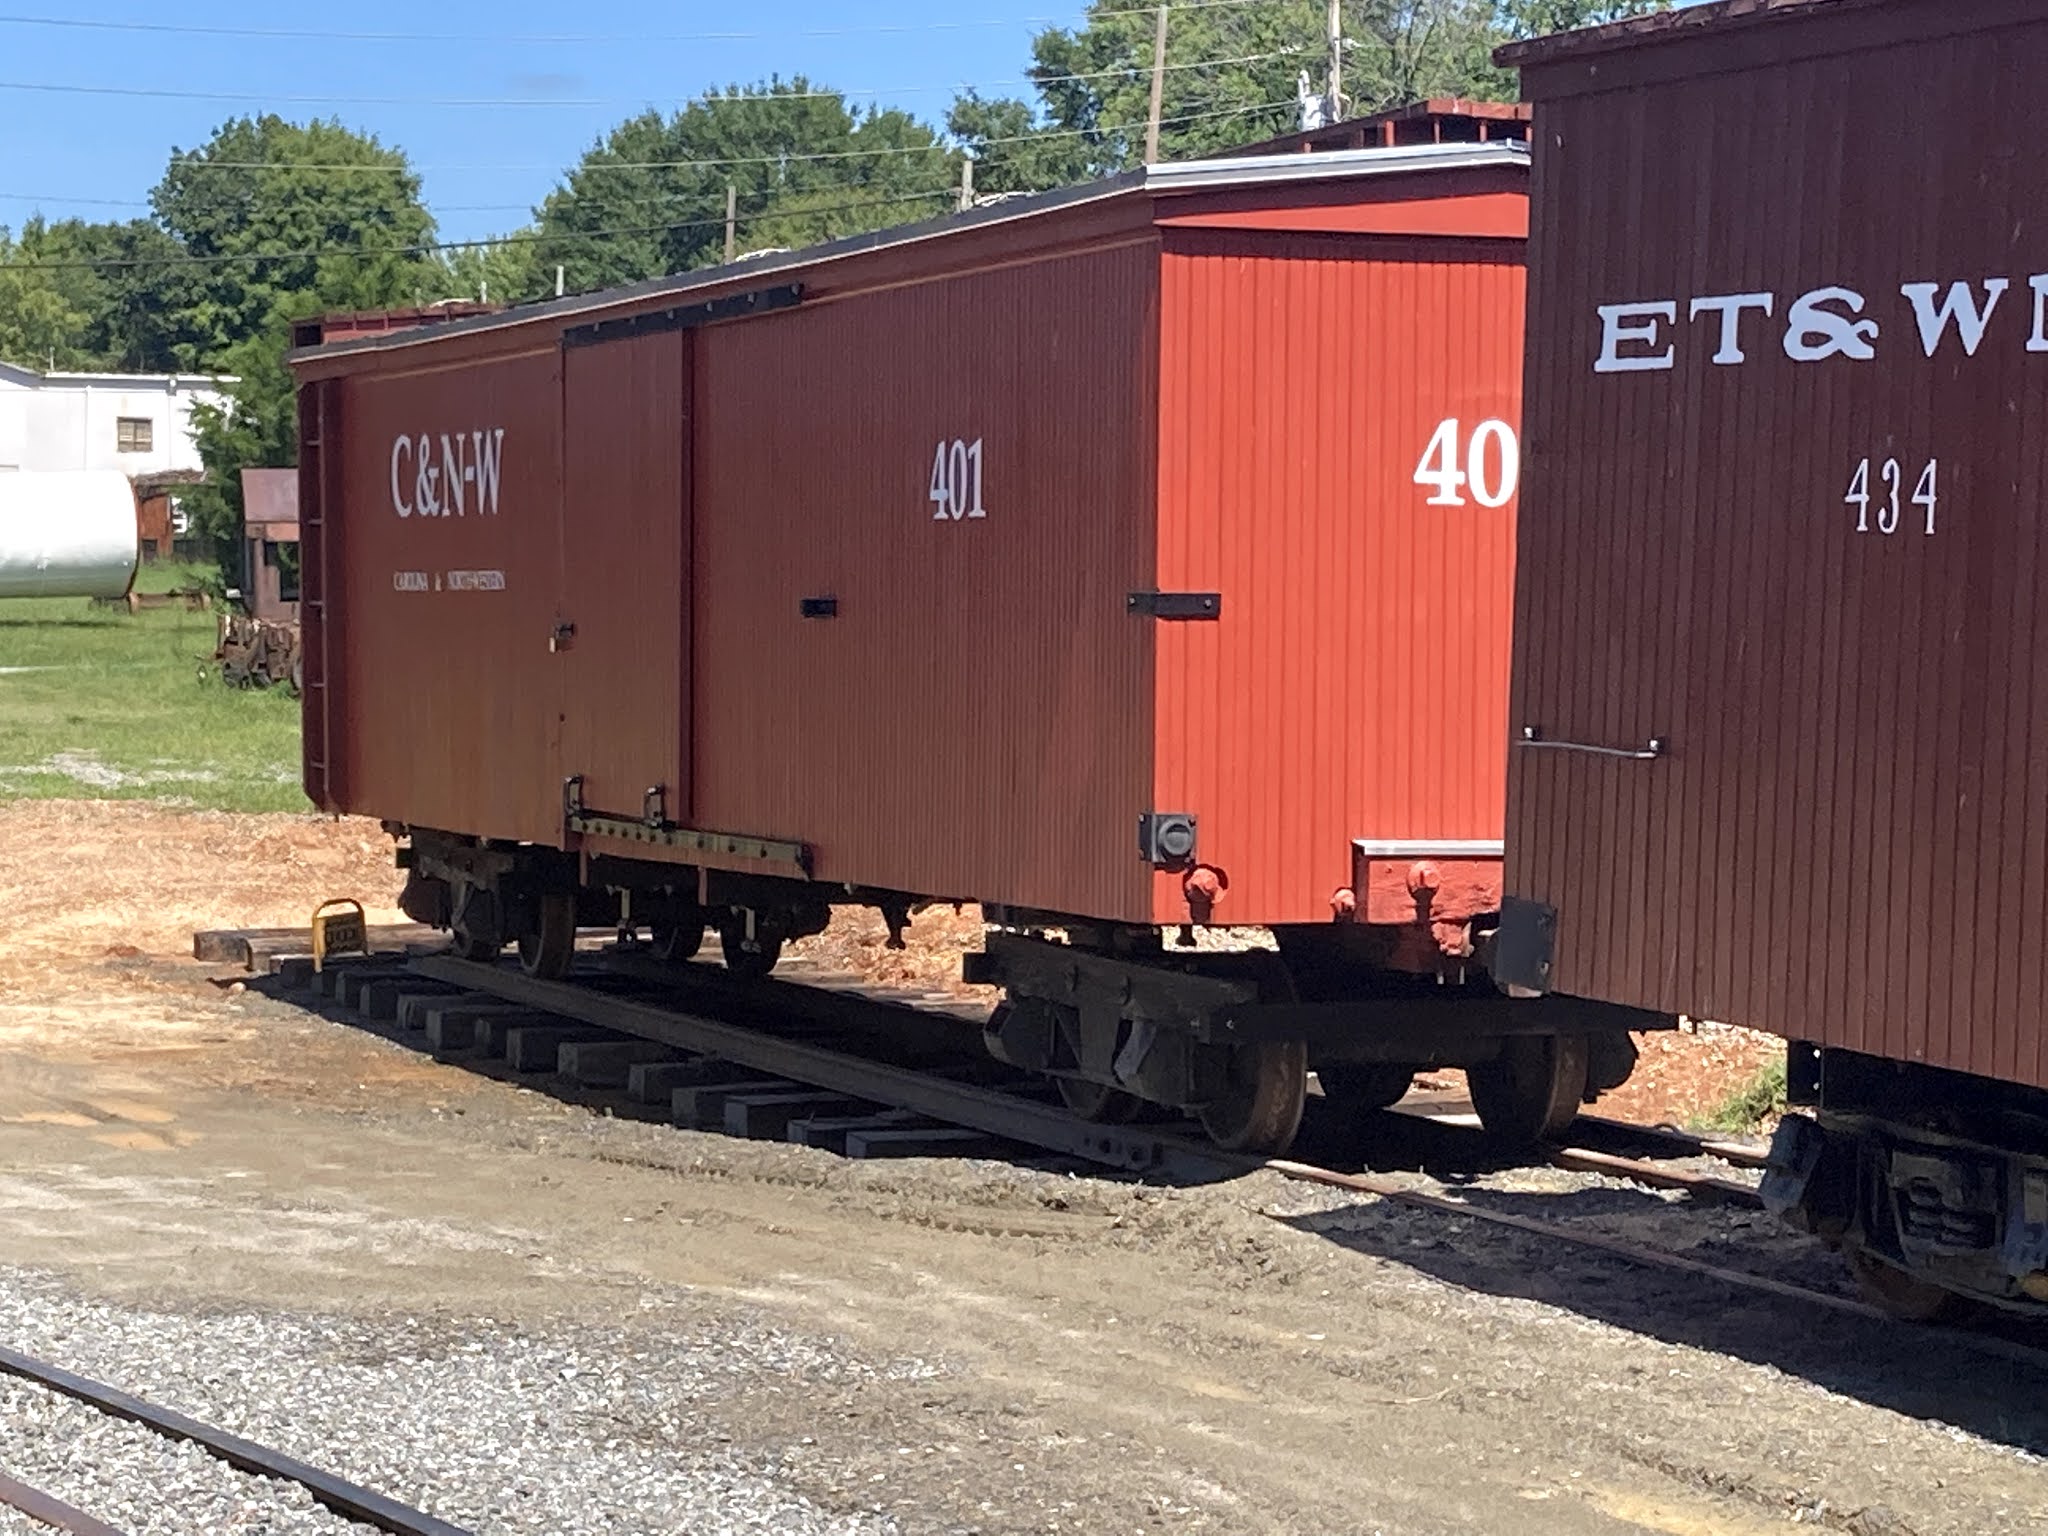
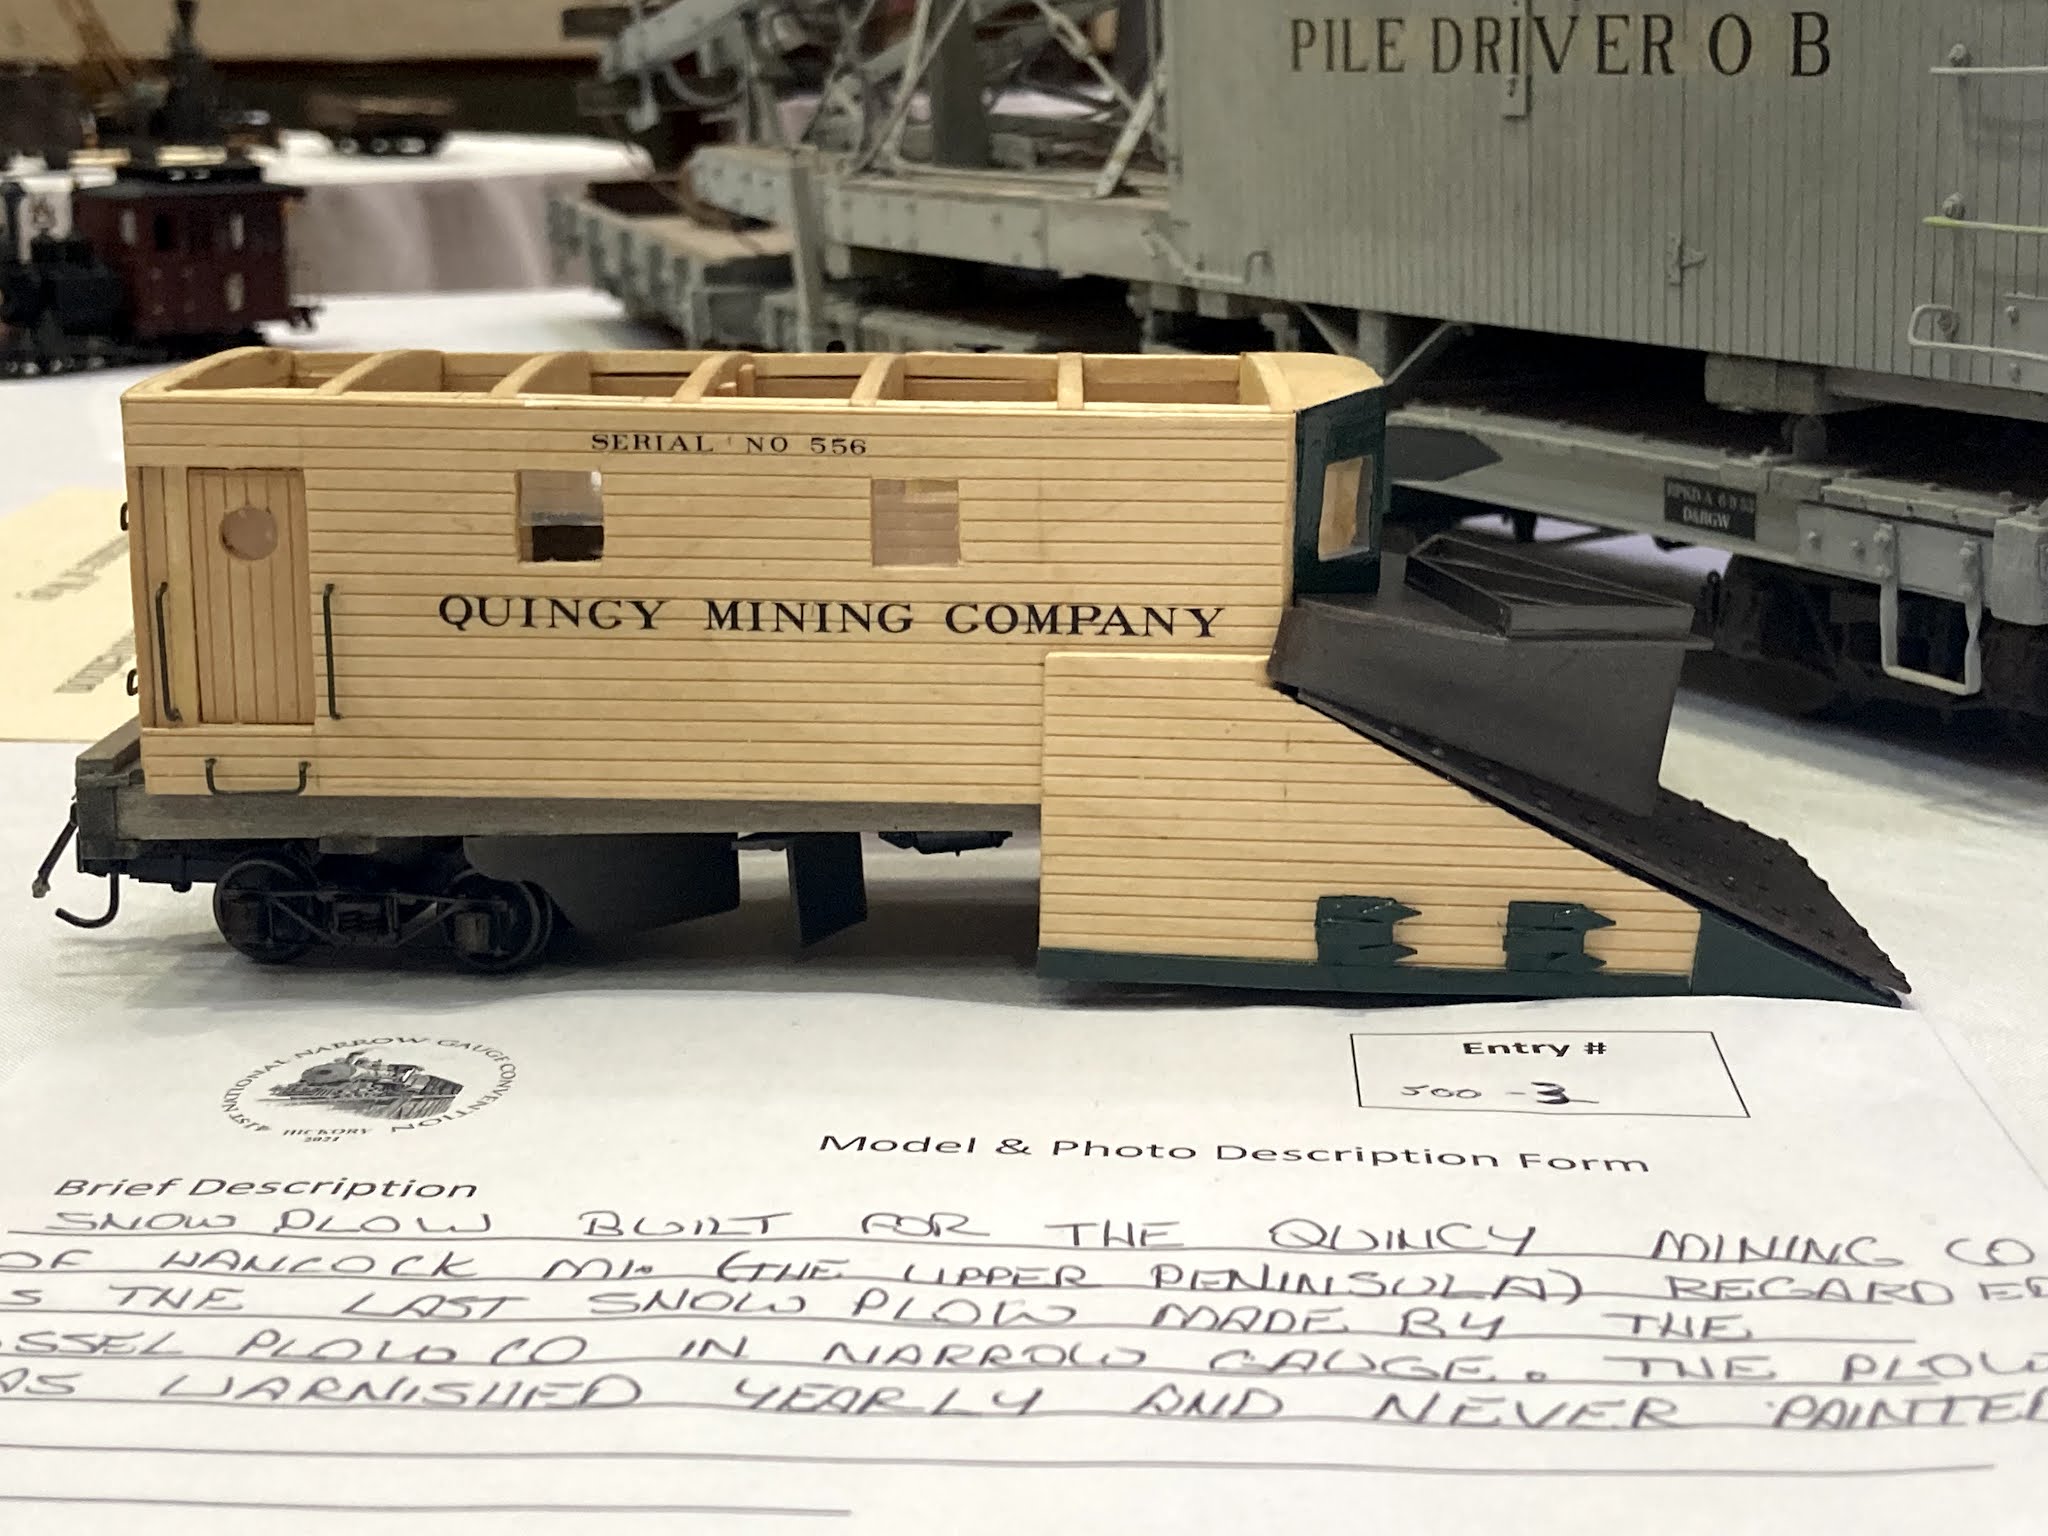
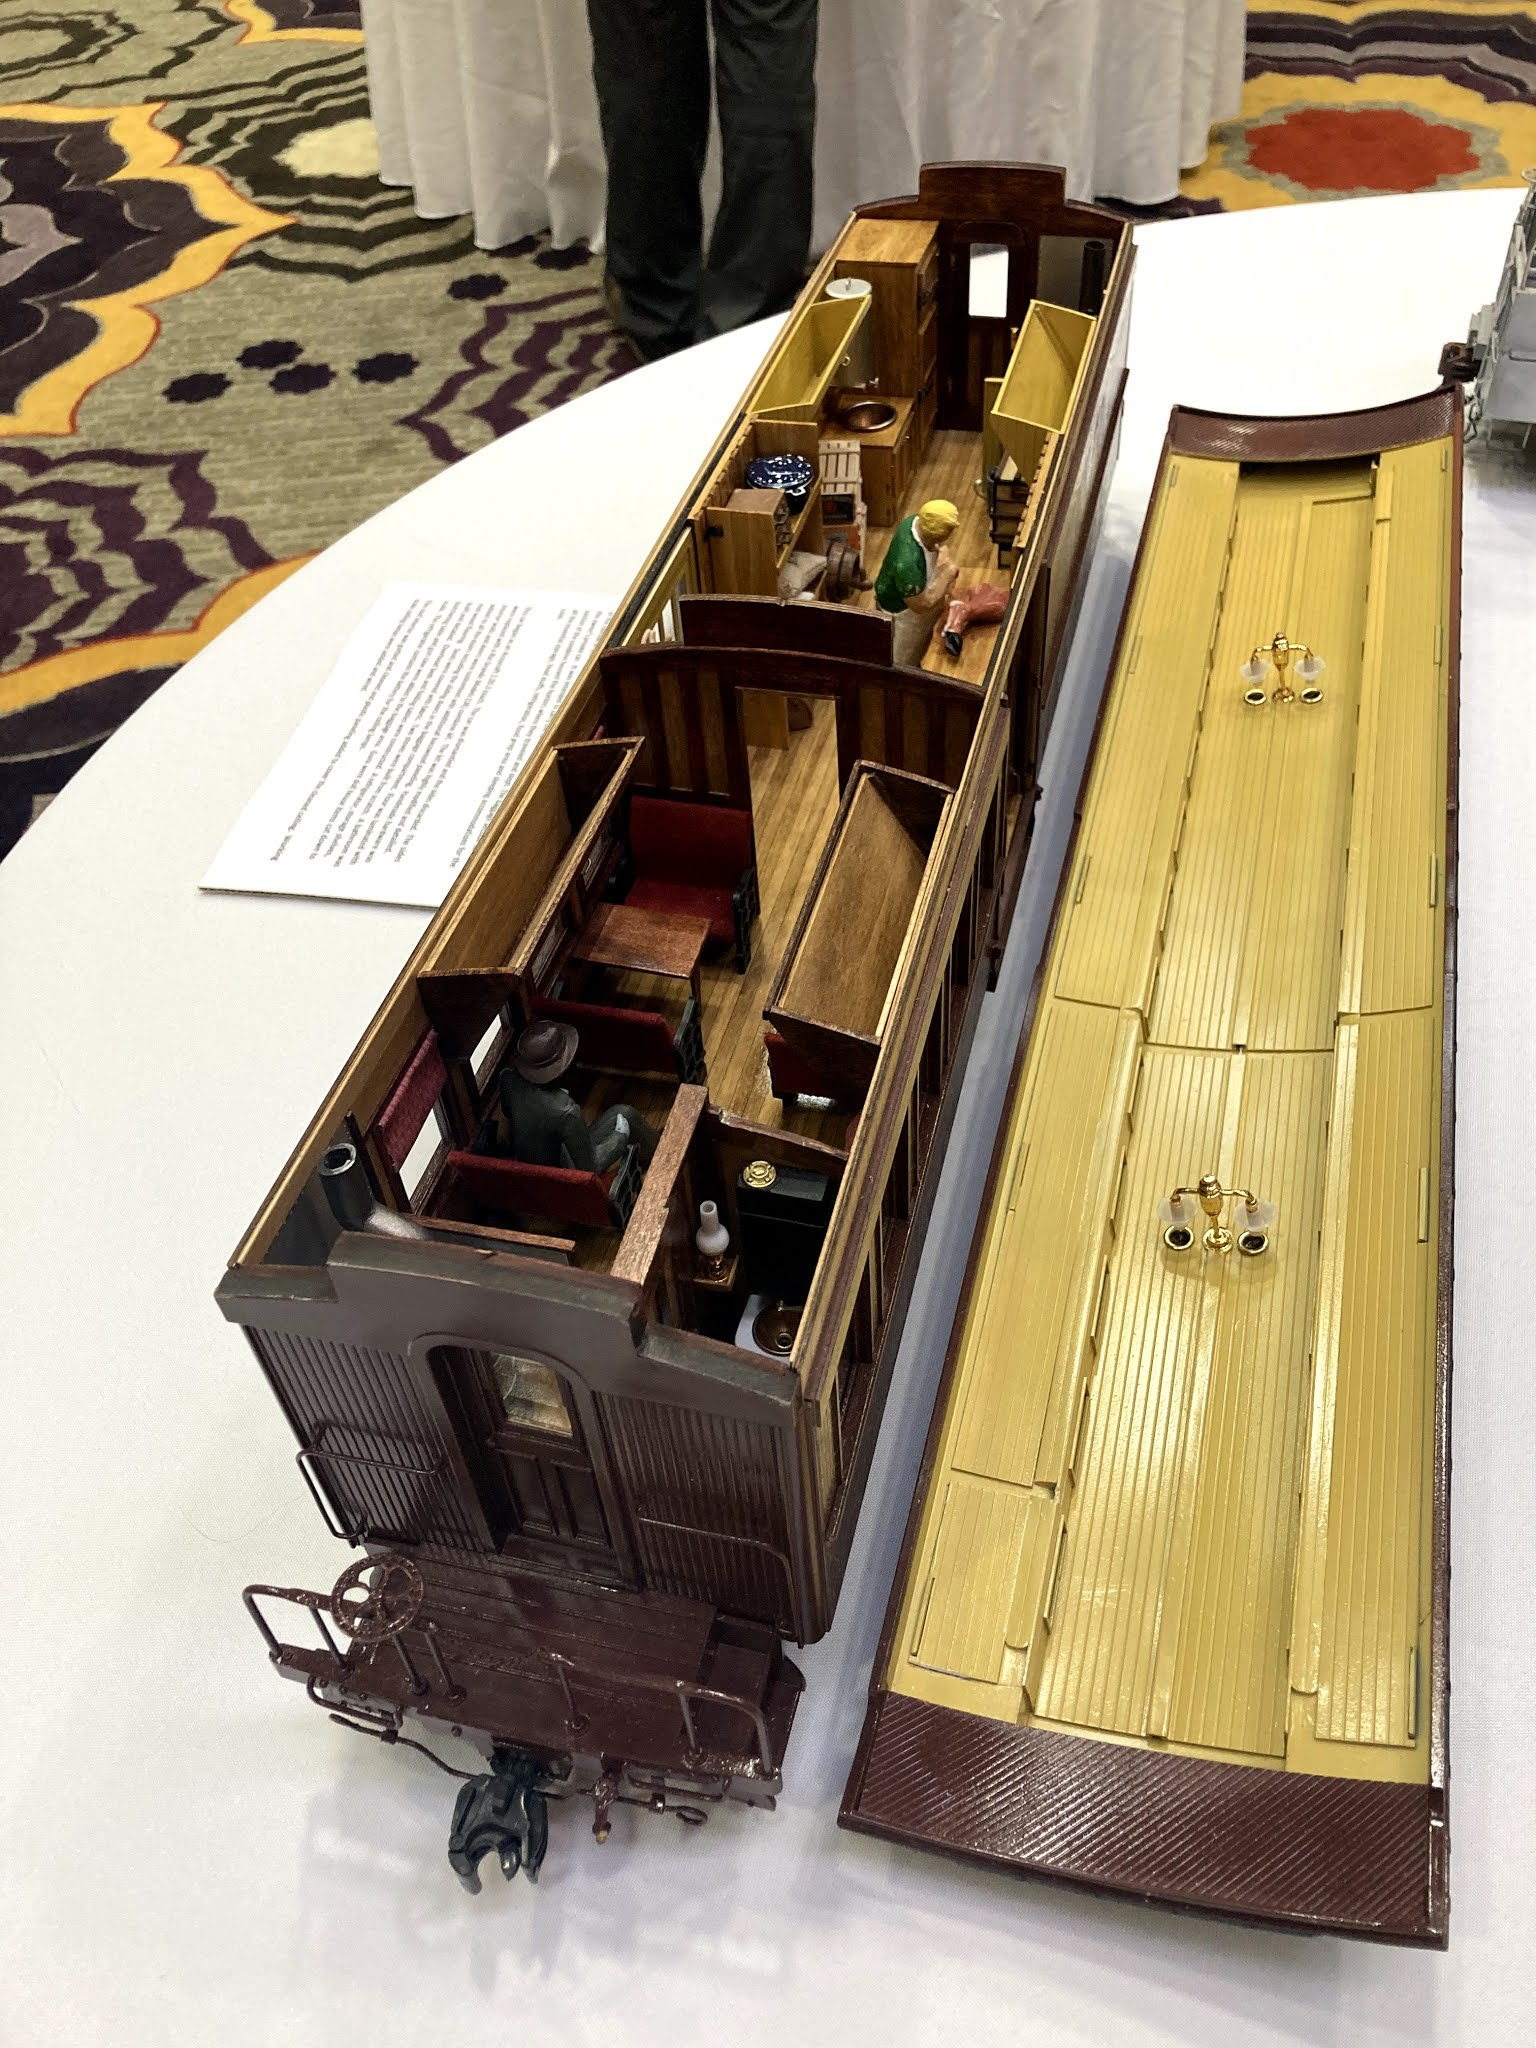
Last week, I managed to attend two days of the 41st Narrow Gauge Convention in Hickory, NC. A wonderful time with lots of cool models, vendors, and clinics. Due to my short time there, I did not get to see all the wonderful clinics or travel to any of the home layouts. I did, however, manage to present my two clinics, one on the Albion module and one on the Cairo and Kanawha and the Mountain Central. I actually met two folks interested in the history of the Mountain Central and one modeling the WW&F in On30!
Highlights included hanging out and catching up with modeling friends I haven't seen in a long time, attending Pete Leach's backdrop painting clinic and buying some WW&F kits that I didn't know were out!
Here's some photo's to give you the flavor of the event.
Two nice On3 2-8-0's








While I am still working on painting several of the kits that I built over the summer, I recently started a kit that I have long been putting off. Not exactly sure how I decided to start this kit, regardless, I did and managed to get it finished without the expected major difficulty.
A few years ago, I picked up some PSC EBT hopper car kits for a friend that was looking to pass them on to another Eastern narrow gauge modeler. At the time, I was very concerned about the heat flow through the pieces and that what I had soldered would come un-soldered as I worked on other portions of car.

The most difficult parts were the steps for the brake wheel and the supporting brakes. I may redo these at some point. The car is essentially finished except for more cleaning of overdone soldering joints. I'm going to take a breather before the finishing touches.


This weekend, I started the Portland Locomotive Works WW&F RPO. The assemble has gone VERY quickly, as it is so similar to the passenger car kits that they produce. Waiting for the paint to dry for the next coat, then the gloss coat. The roof needs the trim over the doors that prevents water running down. More soon.........

Yes! A plastic On3 Precision Scale Shay! I picked this up for a steal on eBay a few years ago thinking, well, if it doesn't work I at least get a Falhaulber 50:1 motor. I recently completed another GrandtLine Porter, this one for On30 and had such a fun time assembling it that figured it would be a great time to try my hand at this project. The Porter is disassembled in the paint shop, photo's eventually.......
Generally, (note not always) the instructions are excellent. You definitely want to read a few steps ahead to see what else they say before doing anything. The trucks are the first assembly. I found them easy to construct, using plastic model building techniques. Make sure you don't make a mistake with alignment or parts orientation as you don't want to have to take them apart (there's no way to unsolder as with brass). The person I bought the kit from had started the trucks and made a MESS. They used ACC glue instead of a plastic specific glue. Knowing this, I ordered some new side frames from PSC before they changed hands. You'll note in the picture that I started the frame at the same time. One thing about plastic models, you often have to really wait till the glue has dried completely before proceeding, therefore, I had two to three components being assembled at the same time. Glue a part, move to the next assembly, etc.


So, I carefully added some solvent glue to the cross bracing, brake hanger and bottom tie hoping I could remove the drivers without braking the whole thing. Well, all those little hanger broke, but sheared off, which meant I could glue them on again and hope for the best; however, the main bolster and rest of the truck stayed together. After disassembling, pulling the driver, re-orienting the drive, I put it all back together and IT WORKS! I'm happy that it worked but was I not happy that I trusted the folks who put these together at PSC, maybe they contracted that to someone......
So, plastic shay a good idea? Hmm, easy to build using typical plastic model building skills. Build a model tank or something first. A few problems: plastic breaks easily. The frame is very flexible. There is little weight but lots of room to add weight. I added lead bird shot in the boiler and some small lead strip in the truck bolsters. The hardest parts to build - the fine detail with the eccentrics for the engine was tough. One of my eccentrics had a broken tab, making the fit impossible. I drilled and glued a brass rod on but it wasn't fun. The second hardest part - the universals that attach to the engine. The ones for the trucks were easy but the ones for engine were a bear.........
These originally sold for $275, if you can find one, it's worth the build. I wouldn't pay more unless you are a real fan of this engine. Save up and get a brass one. Once I get this painted, DDC, sound and lights, I'll post on it's running qualities.
Cheers!
I recently finished a Leadville Designs Bill Meyer and Small gondola kit that I received for Christmas a few years back. Bill Meyer and Small made equipment for narrow gauges here in the east as well as the more famous ones out west. I really like the look of these 28 foot cars and built one from plans back in high school.
Below is the Leadville Designs kit as built. A nice kit with underbody detail. I modified it slightly, adding through bolts on the sides.

Here are the two cars side by side. The Leadville Designs kit was nice, being a laser kit, most of the parts fit well without much work. The exception being the stake sides- that WAS a pain and mounting the couplers. There is a nice slot in the car ends for Kadee couplers or some kind of couplers. However, the instructions did not cover their installation and I had to heavily modify the Kadee's to fit. The kit, priced at $79+ shipping is nice and has more appropriate stake pockets, 3D printed and a pain to clean out. However, I think my scratch built car from 20+ years ago looks pretty good and given I cut all my own strip wood, was a real bargain! They'll both run on the DC&L. Stop by sometime and compare for yourself.

I have been very slow to replace/return the two WOW decoders in two separate engines that I have. Both were purchased and installed at the same time and both failed at the same time. The fist is a GrandtLine porter that I build when I was 1in high shcool and rebuilt several times adding DCC in the last rebuild. Tight fit for the speaker, decoder, and stay alive. The Flying Zoo Climax also has a very tight fit for both the decoder, stay alive and small speaker. They were a BEAR to get in there. All those blasted wires and tight spaces! So, when the decoders sound failed, I checked with the folks at TCS about the issue, sure they are under warranty, just send them in. Problem - taking them out and putting new ones in was likely to cause breakage on the models and require more effort than I wanted to put in. So, they have sat for, well, a long time.
So, instead of removing them, sending them in, and then installing them when they came back, I ordered new decoders and decided to swap them out. Get it over with in one difficult time.
The Porter
No. 3. is a plastic GrandtLine porter. I replaced the TCS WOW decoder with a new Tsunami 750. Soundtraxx decoders work so much better with those German Faulhaber motors. I think the 50:1 gears in the motor make them difficult to control. No idea but I have similar problems with PSC shays that use the same motor. The Tsumani 750 is slightly smaller than the WOW decoder and accepts the TCS stay alive. So, having slightly more space allowed for a much easier re-install than expected! Up and running in a little under an hour!


