Sunday, December 11, 2016

First Kit Down, Two to Go

Finished building the SR&RL Baggage Car. All she needs now is a trip to the paint shop, window glazing and a tin roof. I guess the roof should go on before painting........

I added the vacuum brake hose after the pictures, forgot they weren't on till I took the pictures.


Pictures are always good for showing you what you missed. Looks like a little glue cleanup will be required.


 The under body brake detail isn't exactly correct but I doubt anyone would notice. The two brake clevis's should be joined rather than pinned. Something I didn't realize till looking at some wreck pictures of the two footers. Pictures of turned over combines and passenger cars can be very useful!.


Wednesday, December 7, 2016

GME SR&RL Baggage Car Resin Kit

Started the Sandy River baggage car kit first. All three GME kits have the same floor, roof, and details. The sides and miscellaneous details are different from kit to kit, as are some of the car ends. I decided to begin with the baggage car in hopes of learning some assembly tricks prior to the WW&F cars.

Good idea so far. I had to come up with a way to attach the top, sides and ends to the floor. Also, I had to use a different method for attaching the sides and ends to the top. No rubber bands that big and I really couldn't see how the rubber band idea would work. So far the kit has gone together well and quickly. The sides, ends, and top fit well together. One end is very slightly wider than the rest of the car but that is minimal. I have to be careful checking this on the other cars. I think on end of one side needed a little more sanding flat. So little was required for all the items to fit, I just missed it. The floor fits well, especially given the strips or "stops" added to keep the floor in place (picture later).


Had to raise the bolsters 0.08-inches to use the Coronado On2 trucks. They assembled easily but are not rolling as smooth as I would like. Likely replace the Grandt Line plastic wheels with metal rims and axles with NWSL wheelsets and see if there is a difference. I assumed with metal axles, all would work fine. The car seems heavy, so you would think it would roll better.

Started working on the brake rigging. There are no instructions for it, just a diagram (check carefully, as the locations of some items are not correct) to assist with figuring out the routing of vacuum lines, diaphragms, and brake rigging.  This is my least favorite thing to do. I've found that brake rigging usually just fouls up the running quality of the trucks. We'll see. Having to make some modifications such as adding some 0.08-inch styrene to raise the diaphragm over the beam supporting the truss rods. On the next cars, I will drill out the locations of the brake rods so BEFORE gluing the bolster risers on. That should help with locating the rods below the wheels.

Things will slow down as I have to fabricate the inside window sills, add the railings, steps, and finish the brake detail. Back soon.......

Monday, December 5, 2016

Passenger Cars (Well, kits....) Arrive

My GME kits arrived in the mail today! Yeah!

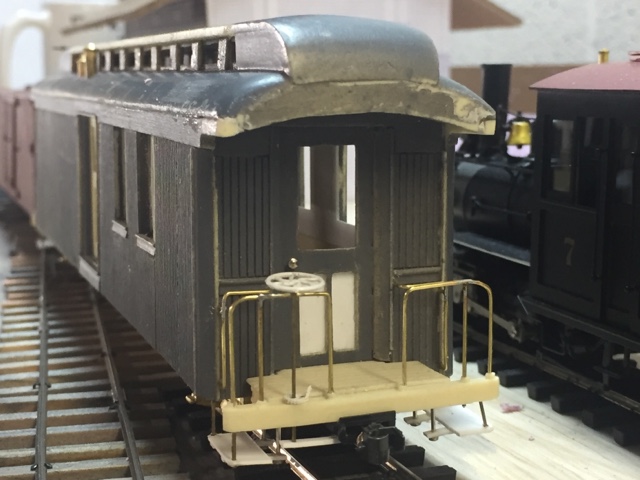
I ordered the WW&F passenger and baggage car. They look great-minimal flash, good detail, detail castings included, heck even the specially bent handrails look pre-bent! Randy also sent me the Sandy River Baggage car, its a long story, bottom line, I'm now a happy customer.


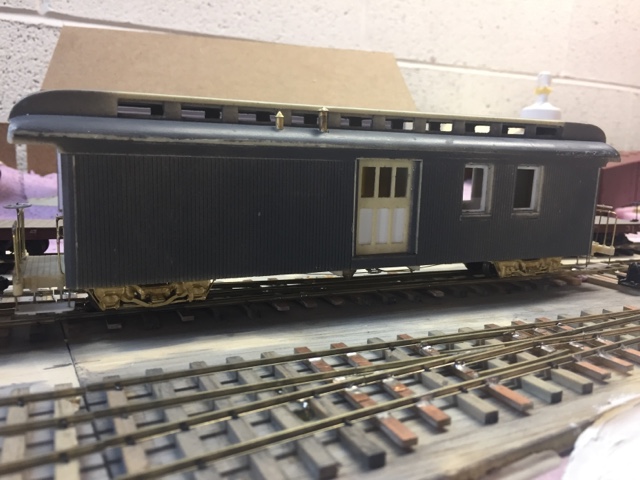
I couldn't help but jump right in. Starting with the Sandy River baggage car, since the construction is the same for all cars and if I make a mistake on this one, I can avoid it on the other two. 


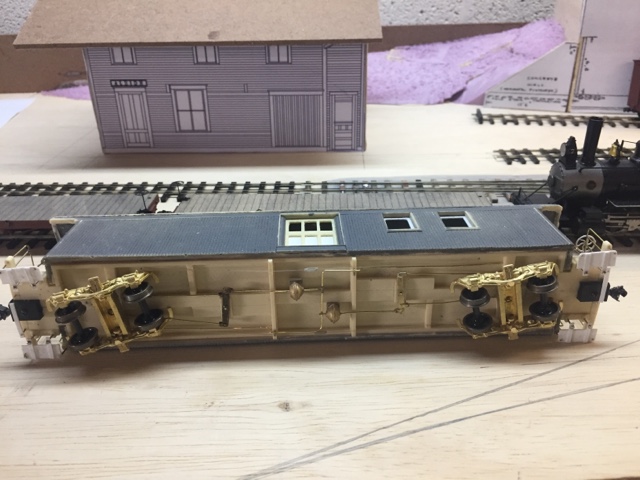
For passenger car kits, these seem like they should assemble rather quickly and without too much difficulty (we'll see, right?), with a minimal amount of sanding, filing and clearing flash with a knife, I was able to fit the sides to the roof. I said minimal, which so far is impressive given my experience with O scale resin car kits. 


Well, I'll update the blog as these come together.

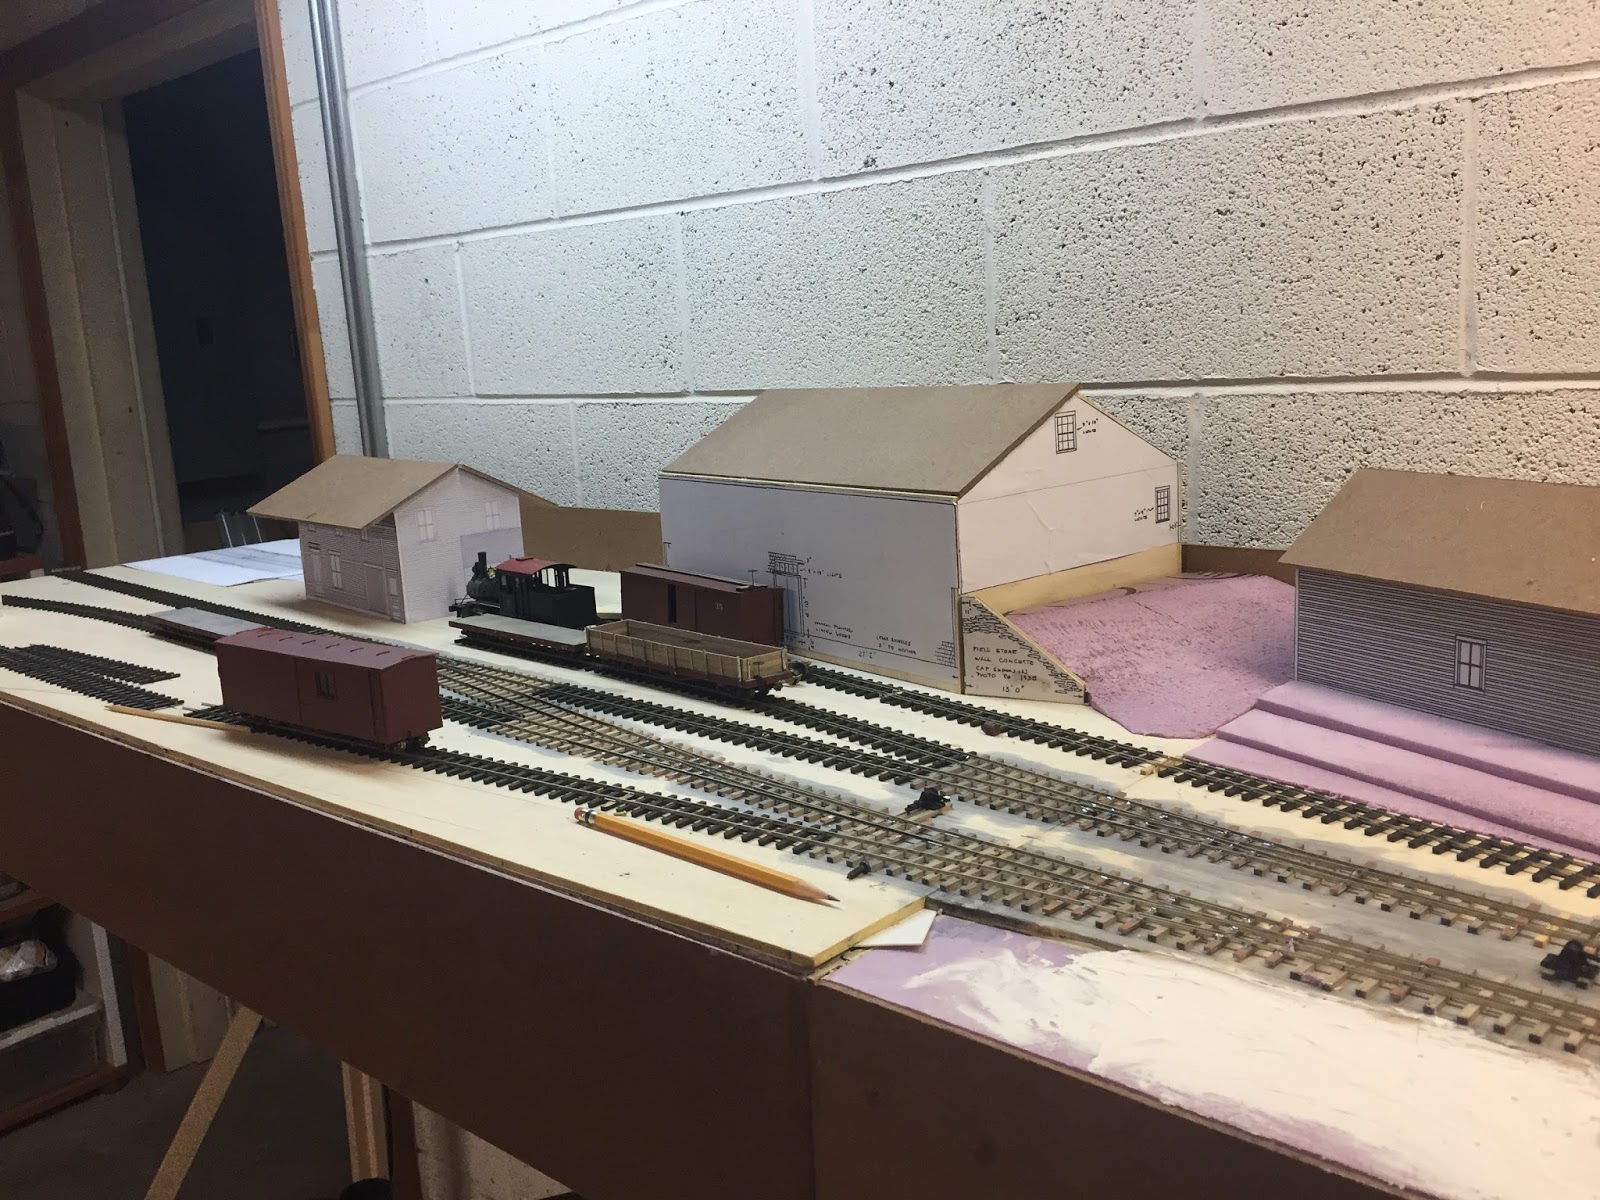
Managed to go a little more terra forming during the lunch hour. Slowly coming together......

Getting the hills behind the coal shed to look a little more like rolling Maine farmland. A bit more shaving to do. 

Also did a small test with Gorilla Glue. While a small section, it dried between lunch and later this evening, which is very positive.  Think I'll give it a try on a larger scale. Too bad I didn't try this earlier. 


Sunday, December 4, 2016

Terra Forma

Waiting for the paint to dry on my Train and Troll 309 boxcar, fighting being tired, good time for doing some scenery! Well, start shaping the ground for my Albion module/switching layout.

 Oh, the blue foam!
 While it doesn't look like much with the weights on it, there's a significant amount of work here. Still needs to be shaped a bit more, but the initial forming with the hot wire is done and several sections are glued down.
 While I like using blue foam for scenery, I kinda don't like using it. Smells terrible when you cut it with the hot wire, I'm sure its toxic. The adhesive glue takes FOREVER to dry as little oxygen gets in to cure it. While you can form as you go, if you overdo it, it can be difficult to fix without plaster cloth. Also, its really messy when you get into shaping with a rasp, file and sandpaper. Bottom line though, if you want light, its a great way to go.
More work to do shaping it up, but it IS coming along. Looks like I'll be building some passenger cars soon, their in the mail! Oops, maybe I should start that snow plow first? Always something!